Remove the battery from the rear rack
Remove two Phillips screws on the dock cover.
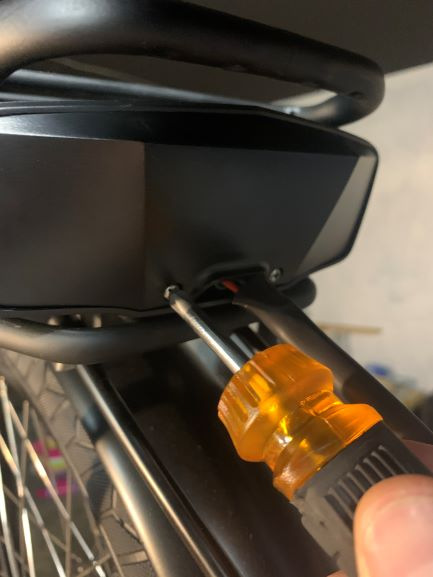
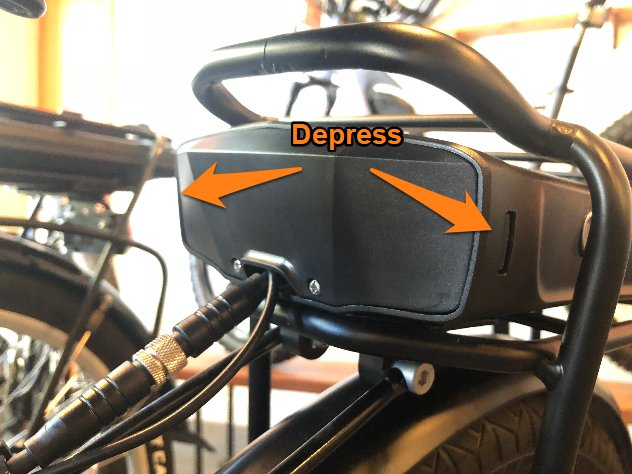
Remove the cover from the dock by depressing the latches on the side.
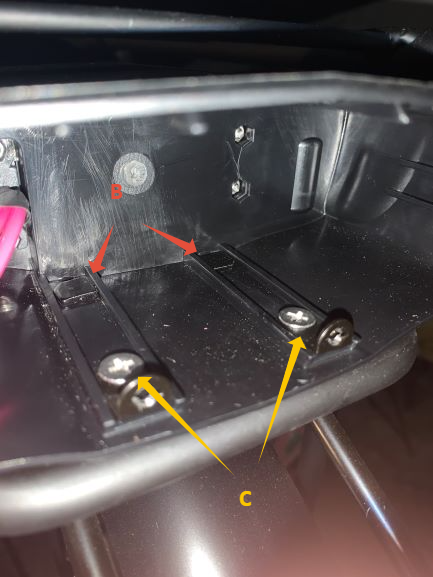
Hold the 2 Philips screws (C in the picture below) from turning on the inside of the dock while you remove the nut on the underside of the rack. Hardware B has nuts (black-also labeled B) on the underside of the rack too, but is a captured bolt head on the top, so you do not need to hold it.
On the underside of the rack, you have to remove the hardware noted by C and B, as well as the closest one indicated by A for a total of 5 nuts.
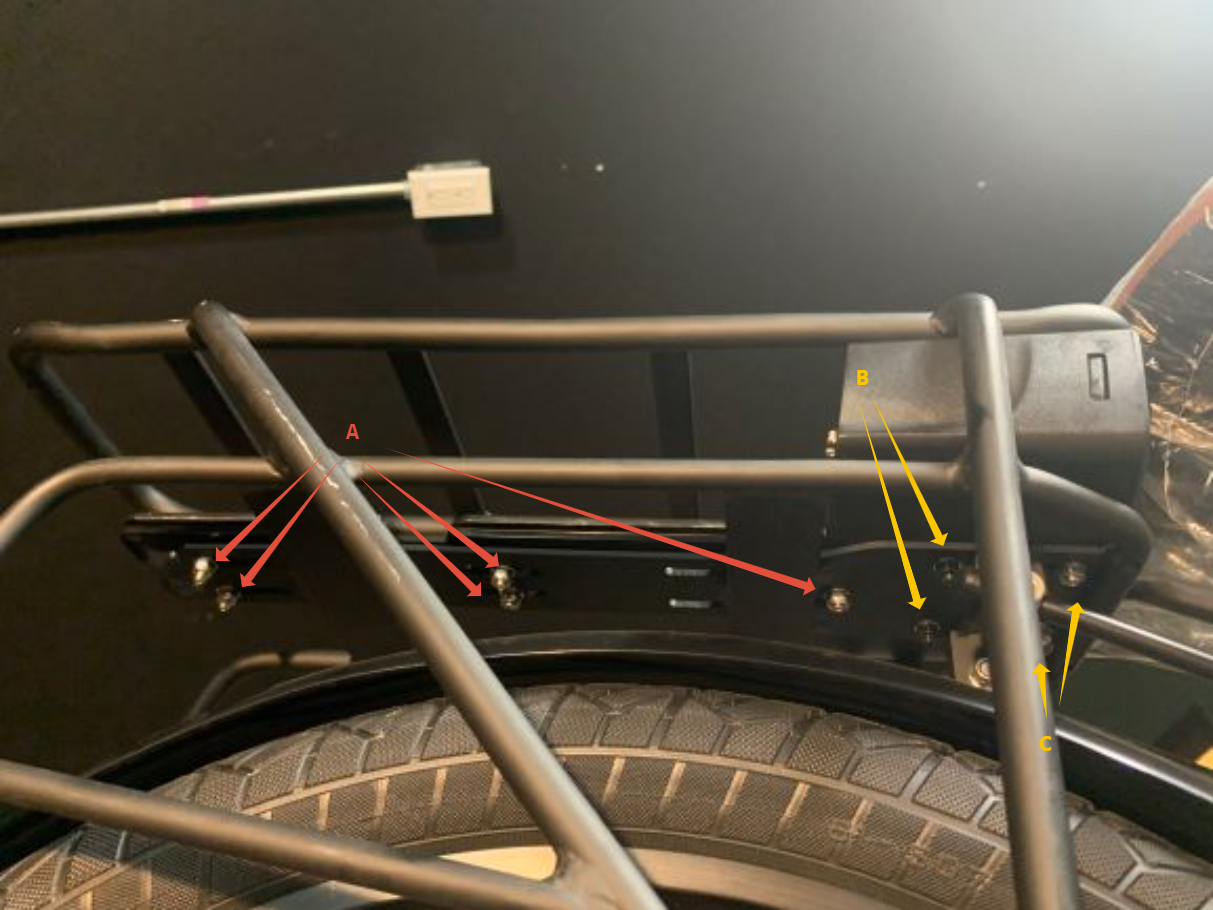
Now the battery dock slides free of the rack but is still attached to the wires, as shown below:
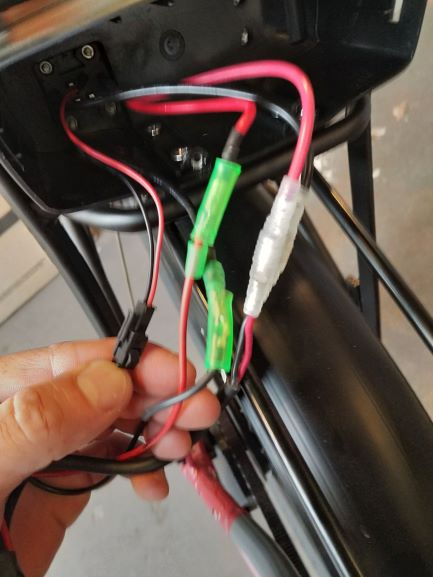
Unplug all the wires and and remove the dock from the rack if you haven't already.
Remove the two screws securing the lock, taking care not to loose the nuts that can fall out of the inside of the dock.
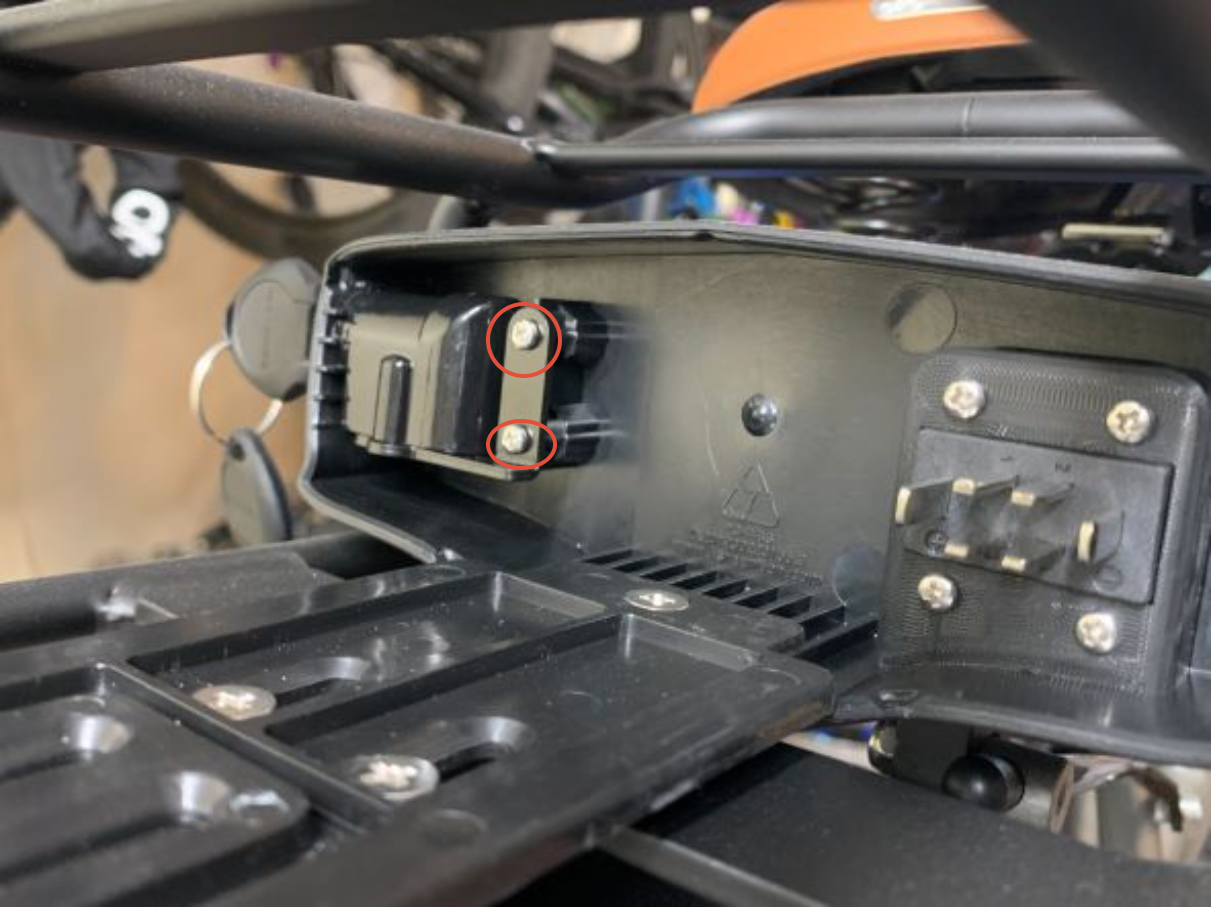
Mount the lock and its bracket to the new battery dock. The same two screws/nuts will hold it in place.
Bolt the dock back onto the rear rack and reconnect the wires. You should see the following:
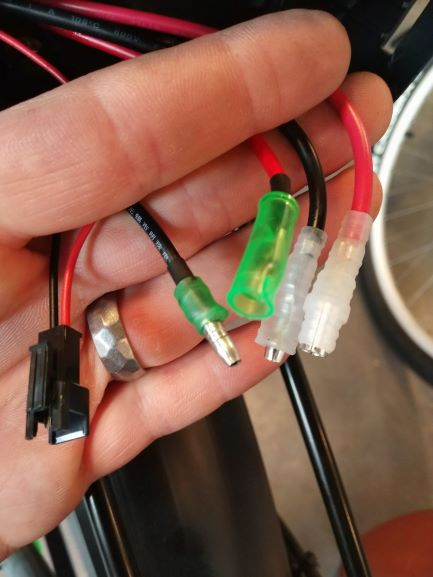
The black, plastic connector goes to the taillight, while the larger wires are for the battery connection. Black is negative and red is positive. Connect one of each to the bike; it does not matter which one you use, as they share the same connection. On some early models, the automatic shifting system connects to the other pair here.
Ensure that the ends of any unused wires are covered so they cannot make an accidental connection. Electrical tape is perfect, and heat shrink is even better.
Put the dock cover back in.
Insert the battery and lock it into place.
Go ride!